Installation
Whether you’re doing sod installation on your lawn yourself, or using a professional, it is helpful to know what is involved. Review in detail with your landscaper to avoid dead grass and issues in the future. When comparing quotes, be sure that both companies are providing the same level of service. If you are looking for professional help for your sod installation, be sure to give us a call and we can recommend some local installers.
Good sod installation always begins with a good foundation. If you do a good job preparing for the sod, a good installation and yard are the result.
Step 1 — Test the Soil
There is no better time to enhance a lawn’s ultimate beauty and success than by improving the soil before any planting takes place. The best way to give your lawn the perfect growing environment is to test the soil before the turfgrass installation to determine its level of nutrients. You can contact your local extension office to obtain a soil test kit. To take a soil test, gather soil samples from several places around the area you’ll be sodding and place the soil from each location in a separate labeled bag. It typically takes about two weeks to receive the results.
Green Brothers Landscape Mix of Flower Mix is a great amendment to any soil. These mixes contain Erth Food, Compost and Granite Sand to provide all the nutrients needed for great soil. If you have a clay type soil, the Flower Mix is recommended at a rate of one and a half cubic yards per pallet and till the Flower Mix into the soil to a depth of 2 to 3 inches. The Landscape mix can be used to level the existing area to a depth of 1 inch and the sod can be laid directly on it.
Step 2 — Measure
A tape measure, distance wheel or the “step” method can be used to measure the area to be sodded, breaking your lawn down into basic shapes and adding them together to get a total square footage.
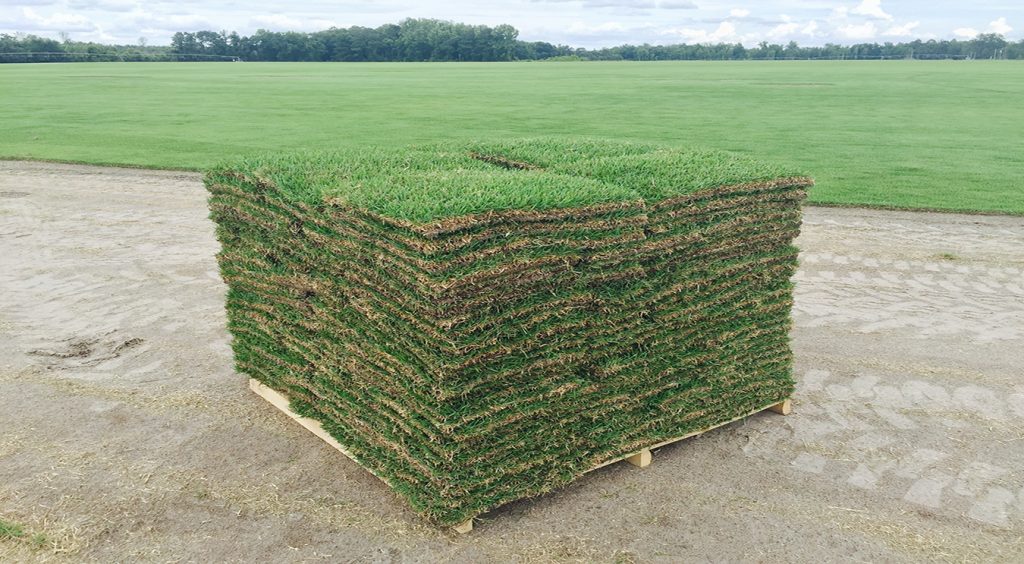
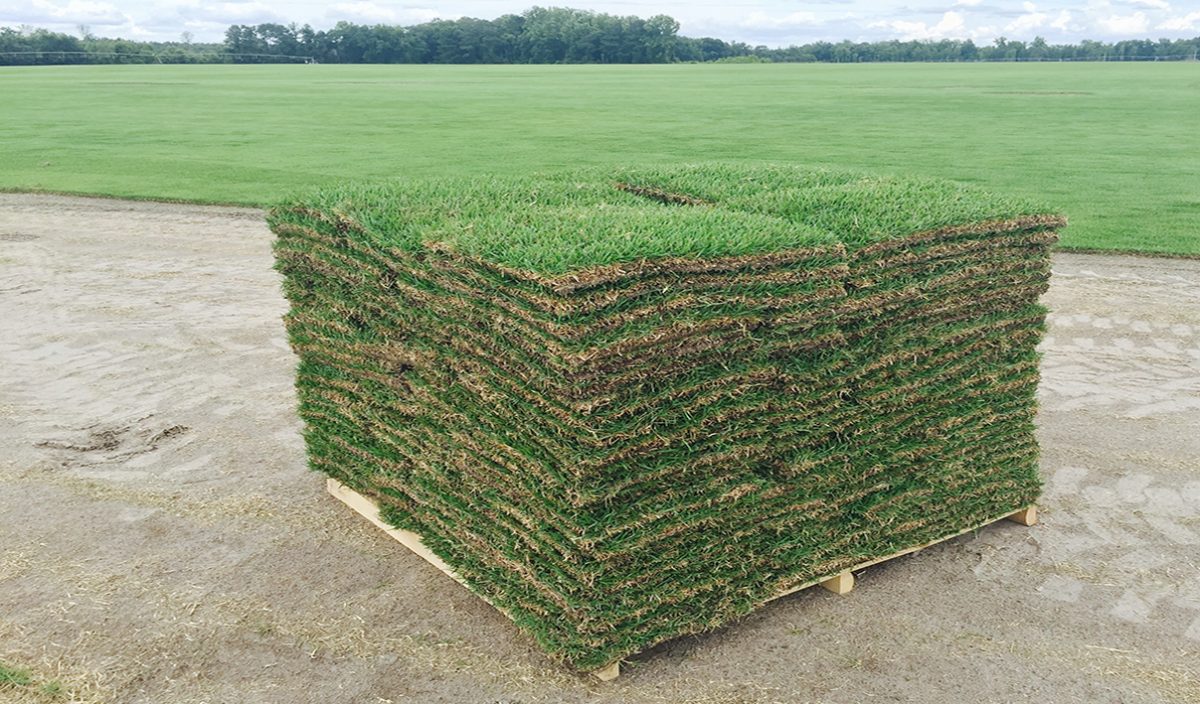
We recommend ordering 5 to 10 percent more sod than you estimate you need to ensure full coverage. Most pallets will be 450 to 500 square feet, which typically is the smallest quantity that can be ordered. A truckload of sod will range from 16 to 20 pallets, depending on where you live.
Step 3 — Kill and Remove Old Grass
Killing and removal of old grass is the next step before the actual turfgrass installation and toward great performing turfgrass. We recommend applying Roundup® or another glyphosate-based product. Glyphosates are broad-spectrum systemic herbicide products designed to kill weeds and competing grasses. They are contact weed killers that require plants to soak up the active ingredient through its leaves, so you’ll want to avoid applying when the grass is wet, when rain is expected or when grass is freshly cut to maximize effectiveness. After applying, wait five to ten days and make a second application if needed. Once you have a fully brown lawn, use a sod cutter or rototiller to remove the top layer of grass and debris to create a smooth and graded surface for laying new turf. Make sure all grass and debris is removed from the landscape, but remember to mark any irrigation heads to avoid breaking them.
Step 4 — Site Preparation and Grading
Proper site preparation makes it easier for new grass roots to penetrate deeply and evenly. Deep roots will make the lawn denser and drought resistant and will allow more efficient use of water and nutrients. A dense lawn crowds out weeds and better resists insects and disease. Turfgrass Producers International recommends the following site preparation steps:
- Clear the site of all building materials (wood, cement, bricks, etc.), as well as any buried stumps,
- rocks, stones or other debris that is larger than 4–5 cm (2–3 inches) in diameter.
- Rough grade the entire area to eliminate any drainage problems on the property. This would include sloping the grade away from building foundations, eliminating or reducing severe slopes and filling low-lying areas. A tractor-mounted blade and/or box are most often used for rough grading, but if the area is smaller, it can be done with hand tools.
- Initial tilling, to a depth of at least 5 cm (2 inches), should be completed prior to adding any topsoil or soil amendments. This will control most annual weeds, alleviate subsoil compaction and permit a bonding of the topsoil to the subsoil and improve root penetration and water movement.
- Add topsoil to achieve a total topsoil depth of 10–15cm (4–6 inches) after firming. The topsoil should be a loamy sand, sandy loam, clay loam, loam, silt loam, sandy clay loam or other soil suitable for the area. Incorporate humus (fully decomposed organic matter) into the topsoil, if possible.
- Finish grade the entire site, maintaining the rough grading contours and slopes using a tractor- mounted box blade for large areas or heavy-duty rake on smaller sites.
- Roll the area with a lawn roller, one third full of water, to firm and settle the surface and reveal any low spots that should be filled to match the surrounding grade surface. If time permits, allow the area to settle further with rainfall or by applying irrigation water.
Step 5 — Lay and Roll Your New Sod
Be sure to have sod off the pallet and in your lawn within 48 hours or less of delivery. Same day installation is preferable to avoid grass drying out as it sits on pallets. When laying sod, it is best to use a brick pattern with offsetting seams. Use a landscape edger or machete to cut around corners and at the edges. A handy tip is that most sod harvesters don’t cut straight down, but at a slight angle. You can use this to your advantage to get tighter seams by matching the angle on the pieces to fit together as snugly as possible. Once installed, the grass should be rolled for smoothness. Visible seams will disappear in a few short weeks.
Step 6 — Water, Fertilize and Mow
Sod should be watered thoroughly when installed. Soak upon installation and water, as needed, to keep grass from drying out. Overwatering for an extended period, however, will severely damage the turf, causing disease and rotting roots. It usually takes 10 to 14 days during the active growing season for the sod to establish, but it may take longer during cooler weather. For the first two to three weeks after installation, try to keep traffic to a minimum to give the roots an opportunity to firmly knit with the soil and ensure that it will remain smooth and level. Proper rooting can be checked by lifting a corner and noting if “white” roots have connected to the ground.
Mowing of the new sod should be done 10 to 14 days after installation during the growing season. Your sod should arrive with a fresh application of fertilizer which will last for a few weeks. If you prepared the area with Green Brothers Landscape Mix or Flower Mix, you should not have to fertilize this season. See our entry on fertilization for ongoing maintenance.
Some things to keep in mind are:
- Sandy soils usually require more water to keep the turf healthy because sand drains faster than clay or heavier soils.
- As a general rule, the further south you are, the longer your growing season. This means that your lawn may require increased fertilization.
- Grass in partial shade will remain wet longer than grass in full sun. Watering should be adjusted accordingly.
- Overwatering can be just as harmful as under watering because grass that stays moist all of the time is at high risk of fungus and disease.
- If you see your grass turning brown during the growing season, you most likely have a fungus, disease, or insect issue.
